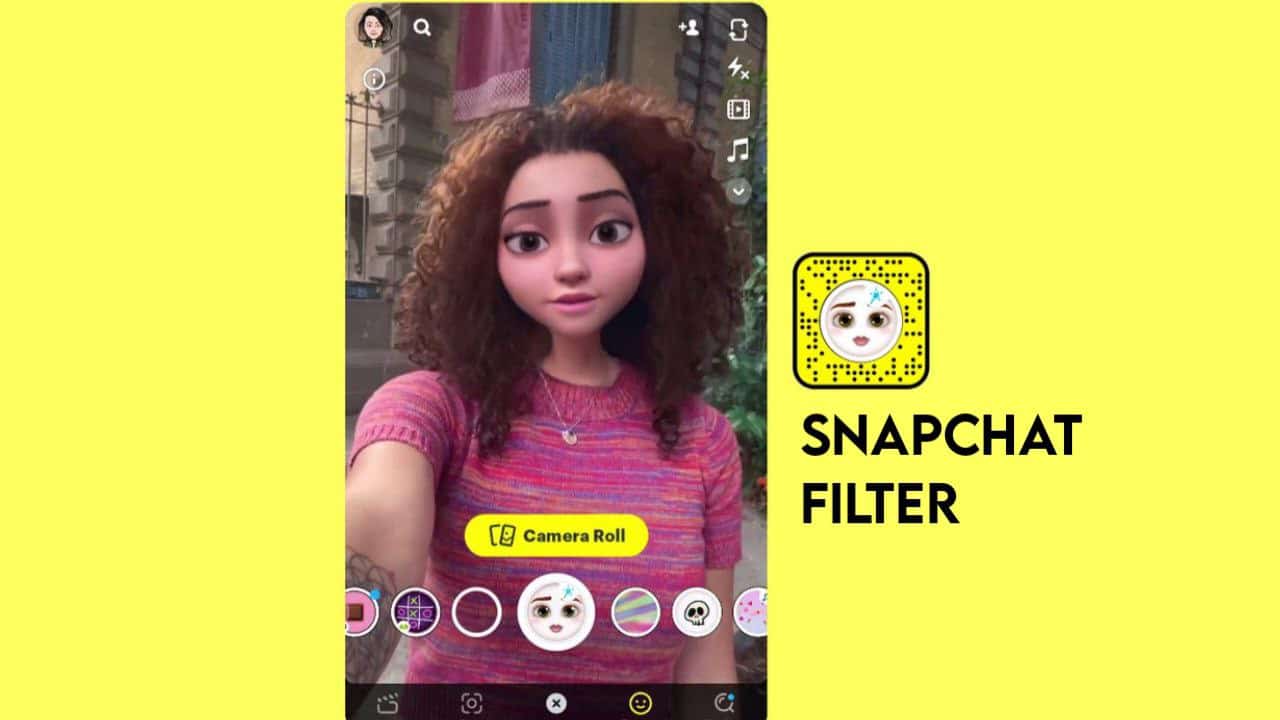
Snapchat has become a popular social media platform where users share their pictures and videos with friends and followers. One feature that makes Snapchat unique is the use of filters and lenses. Filters and lenses are visual effects that can be added to photos and videos in real time. These effects make the content more fun, engaging, and interactive. This article will discuss how to create Snapchat filters and lenses.
Creating a Snapchat Filter
Snapchat filters are graphics that can be overlaid on photos and videos. Filters can be designed using various software like Adobe Photoshop, Illustrator, or Canva. To create a filter, follow these steps:
- Open Snapchat’s website ( Snap Ar Studio Download )
Go to Snapchat’s website, click on “Create” and select “Filters and Lenses.”
- Choose a filter type
Choose the type of filter you want to create. You can select from community filters, on-demand filters, or sponsored filters.
- Design your filter
Choose the software you want to use to design your filter. Create the graphics for your filter, keeping in mind the size and shape of the filter.
- Upload your filter
Upload your filter on Snapchat’s website. Preview your filter to ensure it’s working correctly.
- Choose the date and location
Select the date and location where you want your filter to be available. You can choose a specific time and date, or you can have it run for an extended period.
- Payment
If you are creating an on-demand filter, you will need to pay for your filter. Payment is determined by the size and duration of the filter.
- Submit for approval
Once you have completed all the steps, submit your filter for approval. Snapchat will review your filter and notify you if it has been approved.
Must Read – 4 Ways to Get Dark Mode in Snapchat on Android & iOS (2023)
Best Snapchat Filter
Snapchat filters have become an integral part of the app’s user experience. These filters allow users to enhance their photos and videos with various effects, such as dog ears or a flower crown. They can also be location-based, promoting tourism and local businesses. While some may argue that filters create unrealistic beauty standards, they are mostly used for fun and creative expression. Filters have even been used for activism, with Black Lives Matter and LGBTQ+ filters spreading awareness and support. Overall, Snapchat filters have proven to be a popular and versatile feature of the app.

Creating a Snapchat Lens
Snapchat lenses are augmented reality effects that can be added to photos and videos. Lenses can be created using Lens Studio, a free software created by Snapchat. To create a lens, follow these steps:
- Download Lens Studio
Download Lens Studio from Snapchat’s website.
- Choose a lens type
Choose the type of lens you want to create. You can select from face lenses, world lenses, or sound lenses.
- Design your lens
Create the graphics and animations for your lens using Lens Studio’s tools. You can also import graphics and animations from other software.
- Test your lens
Test your lens using Lens Studio’s preview tool. You can test the lens on your face or in the real world.
- Submit for approval
Once you have completed all the steps, submit your lens for approval. Snapchat will review your lens and notify you if it has been approved.
Conclusion
Creating Snapchat filters and lenses is a fun and engaging way to create content for the platform. Filters and lenses can be used to promote brands, events, or just for fun. With the right tools and software, anyone can create their own filters and lenses. Whether you’re a professional graphic designer or a novice, creating Snapchat filters and lenses is an enjoyable way to express your creativity.


